Build your first Loop
A walk-through from an empty workspace to a deployed Health Loop you’ve triggered once. Should take under five minutes.
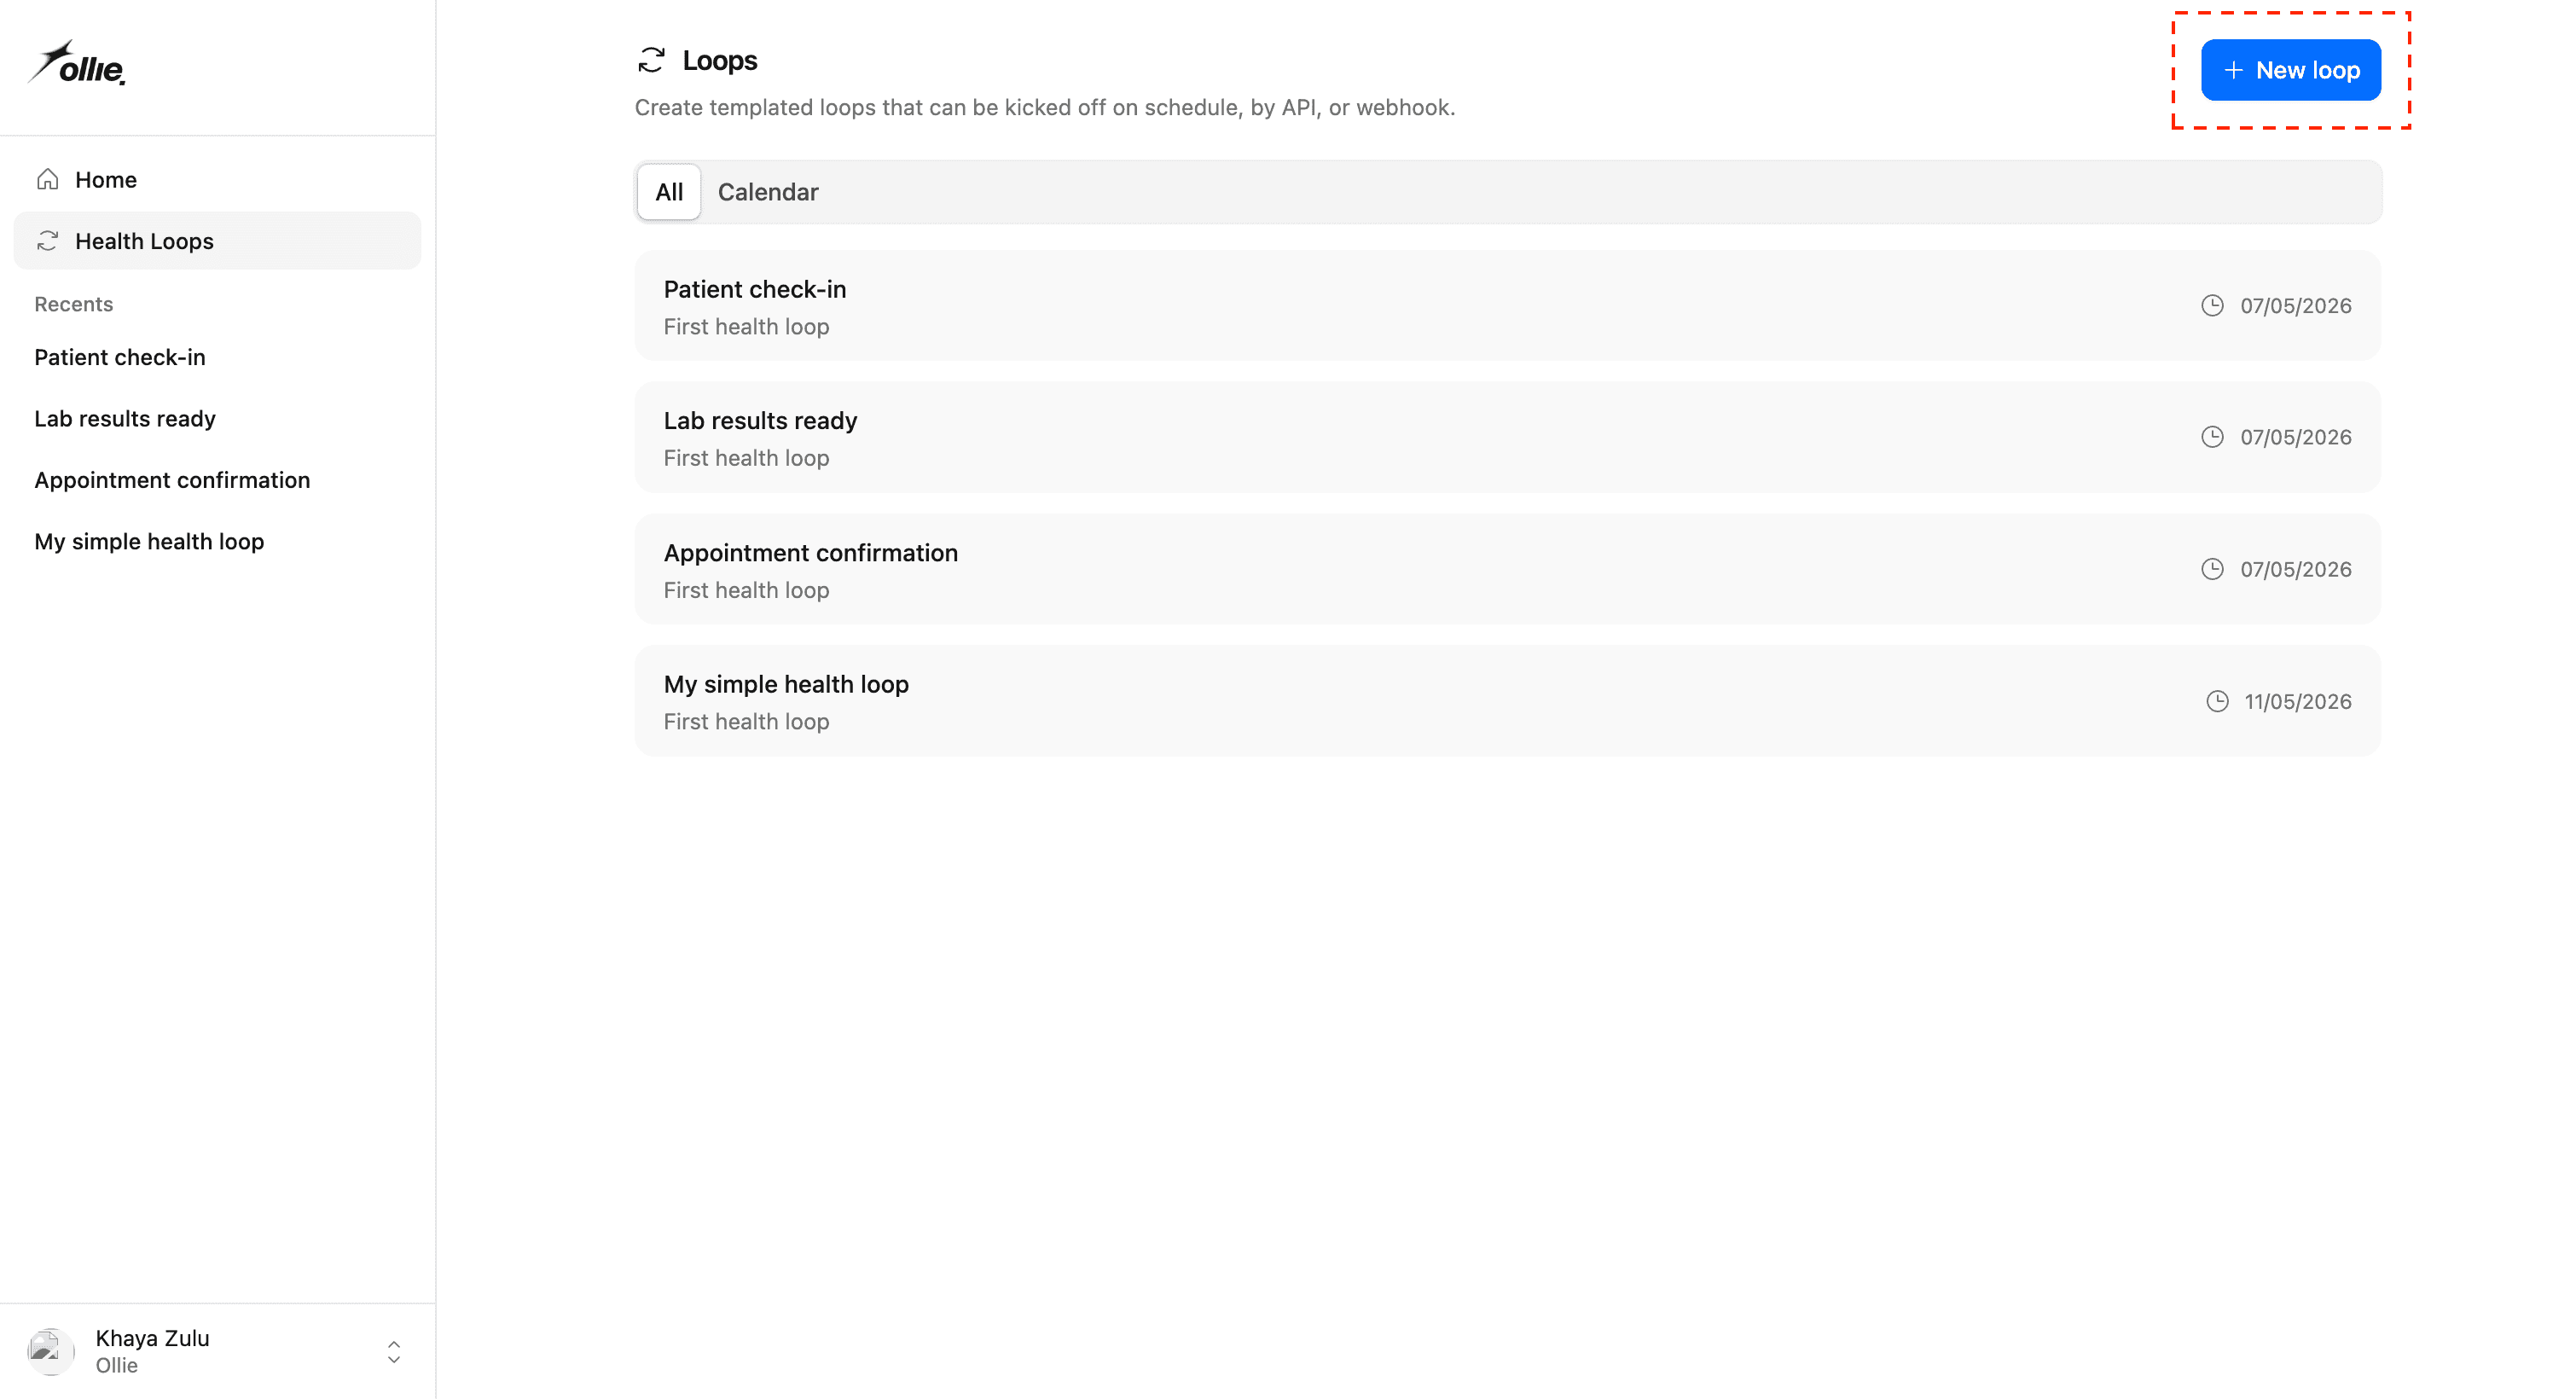
1. Create the loop
From your loops list, click New Health Loop and pick a loop type — Workflow Loop is the default for step-by-step automations. Agent and voice loops are covered in Agent loops and Voice loops.
You’ll land on the editor with a starter HealthLoop class pre-filled. Give the loop a name — slugs work well, e.g. daily-cardio-review — and replace the body with whatever you want it to do. Here’s the smallest useful shape:
export class HealthLoop extends Workflow {
  async run(event: HealthEvent, step: HealthStep) {
    const { name } = event.body;

    const greeting = await step.do("Build greeting", async () => {
      return `Hello, ${name ?? "there"}!`;
    });

    return { greeting };
  }
}
Two things are doing work here:
event.bodyis whatever you POST when triggering the loop. Type it onHealthEventand you get autocomplete insiderun.step.do(name, fn)is a checkpointed unit of work. The platform persists the return value, so if a later step fails and the workflow retries, this one doesn’t re-run. Thenameis what shows up in the run timeline.
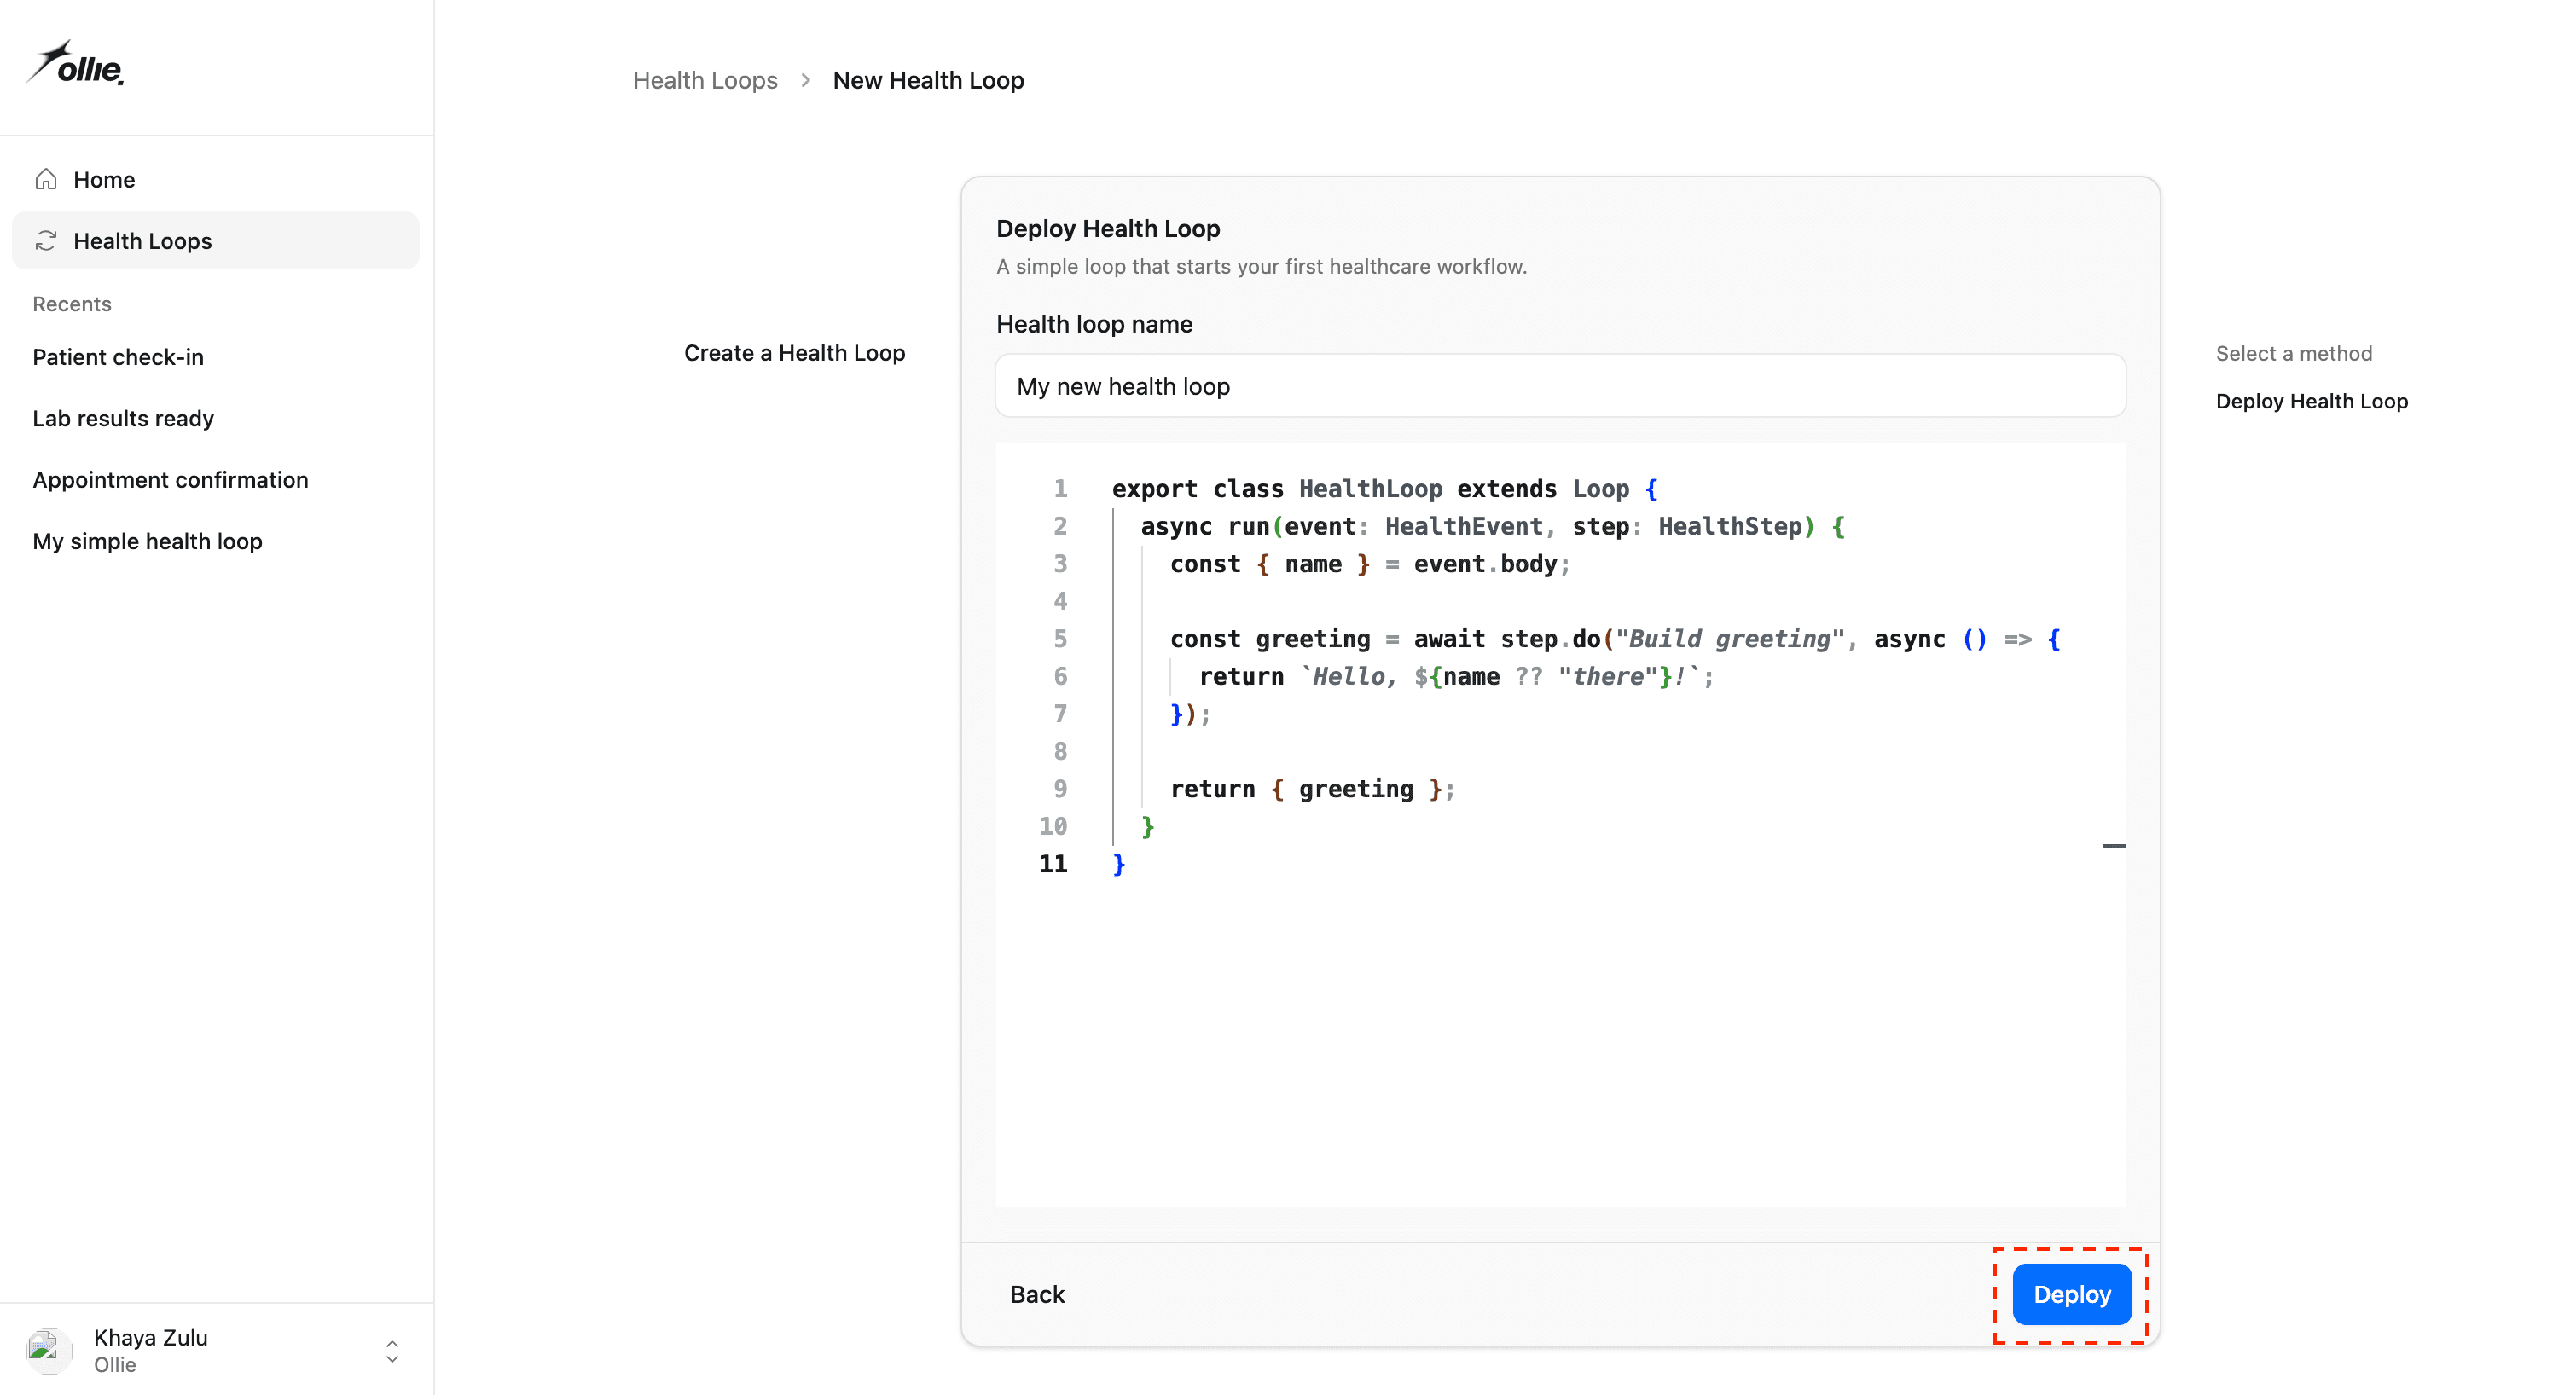
2. Deploy
Click Deploy. The platform stores a new loop_versions row, marks it active, and routes you to the loop’s overview page.
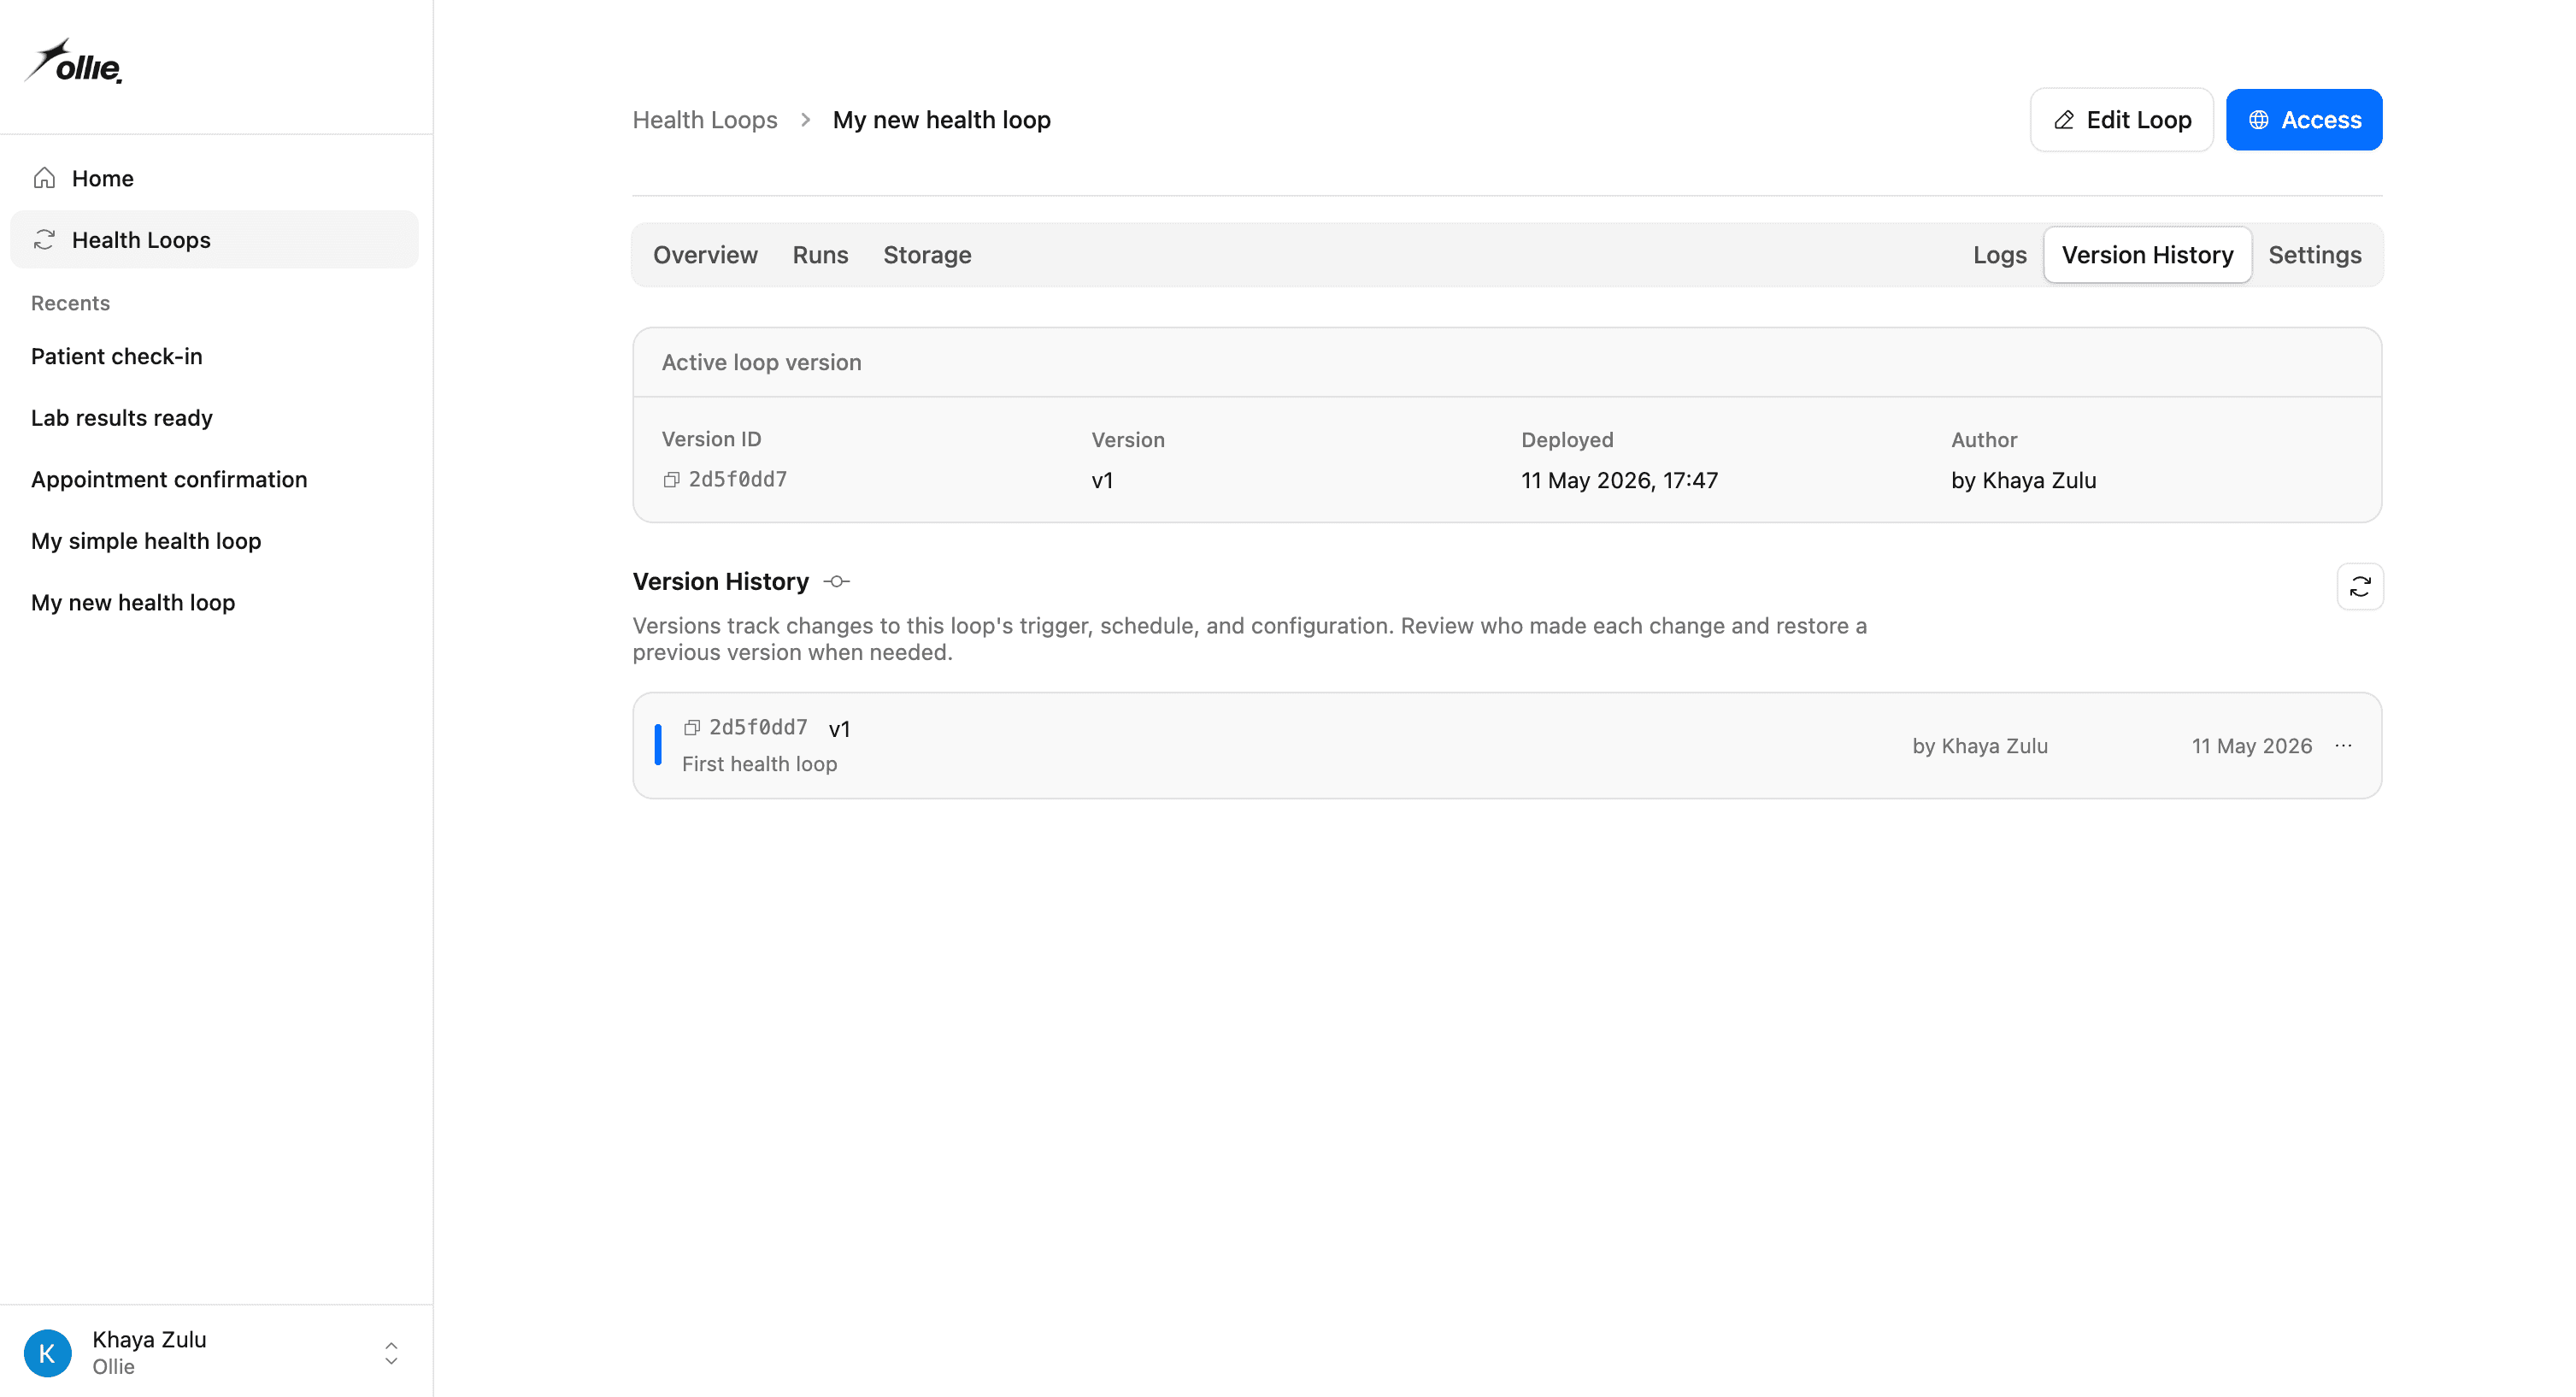
Every deploy is its own version. Older versions stay around under Version history — you can roll back without losing the code.
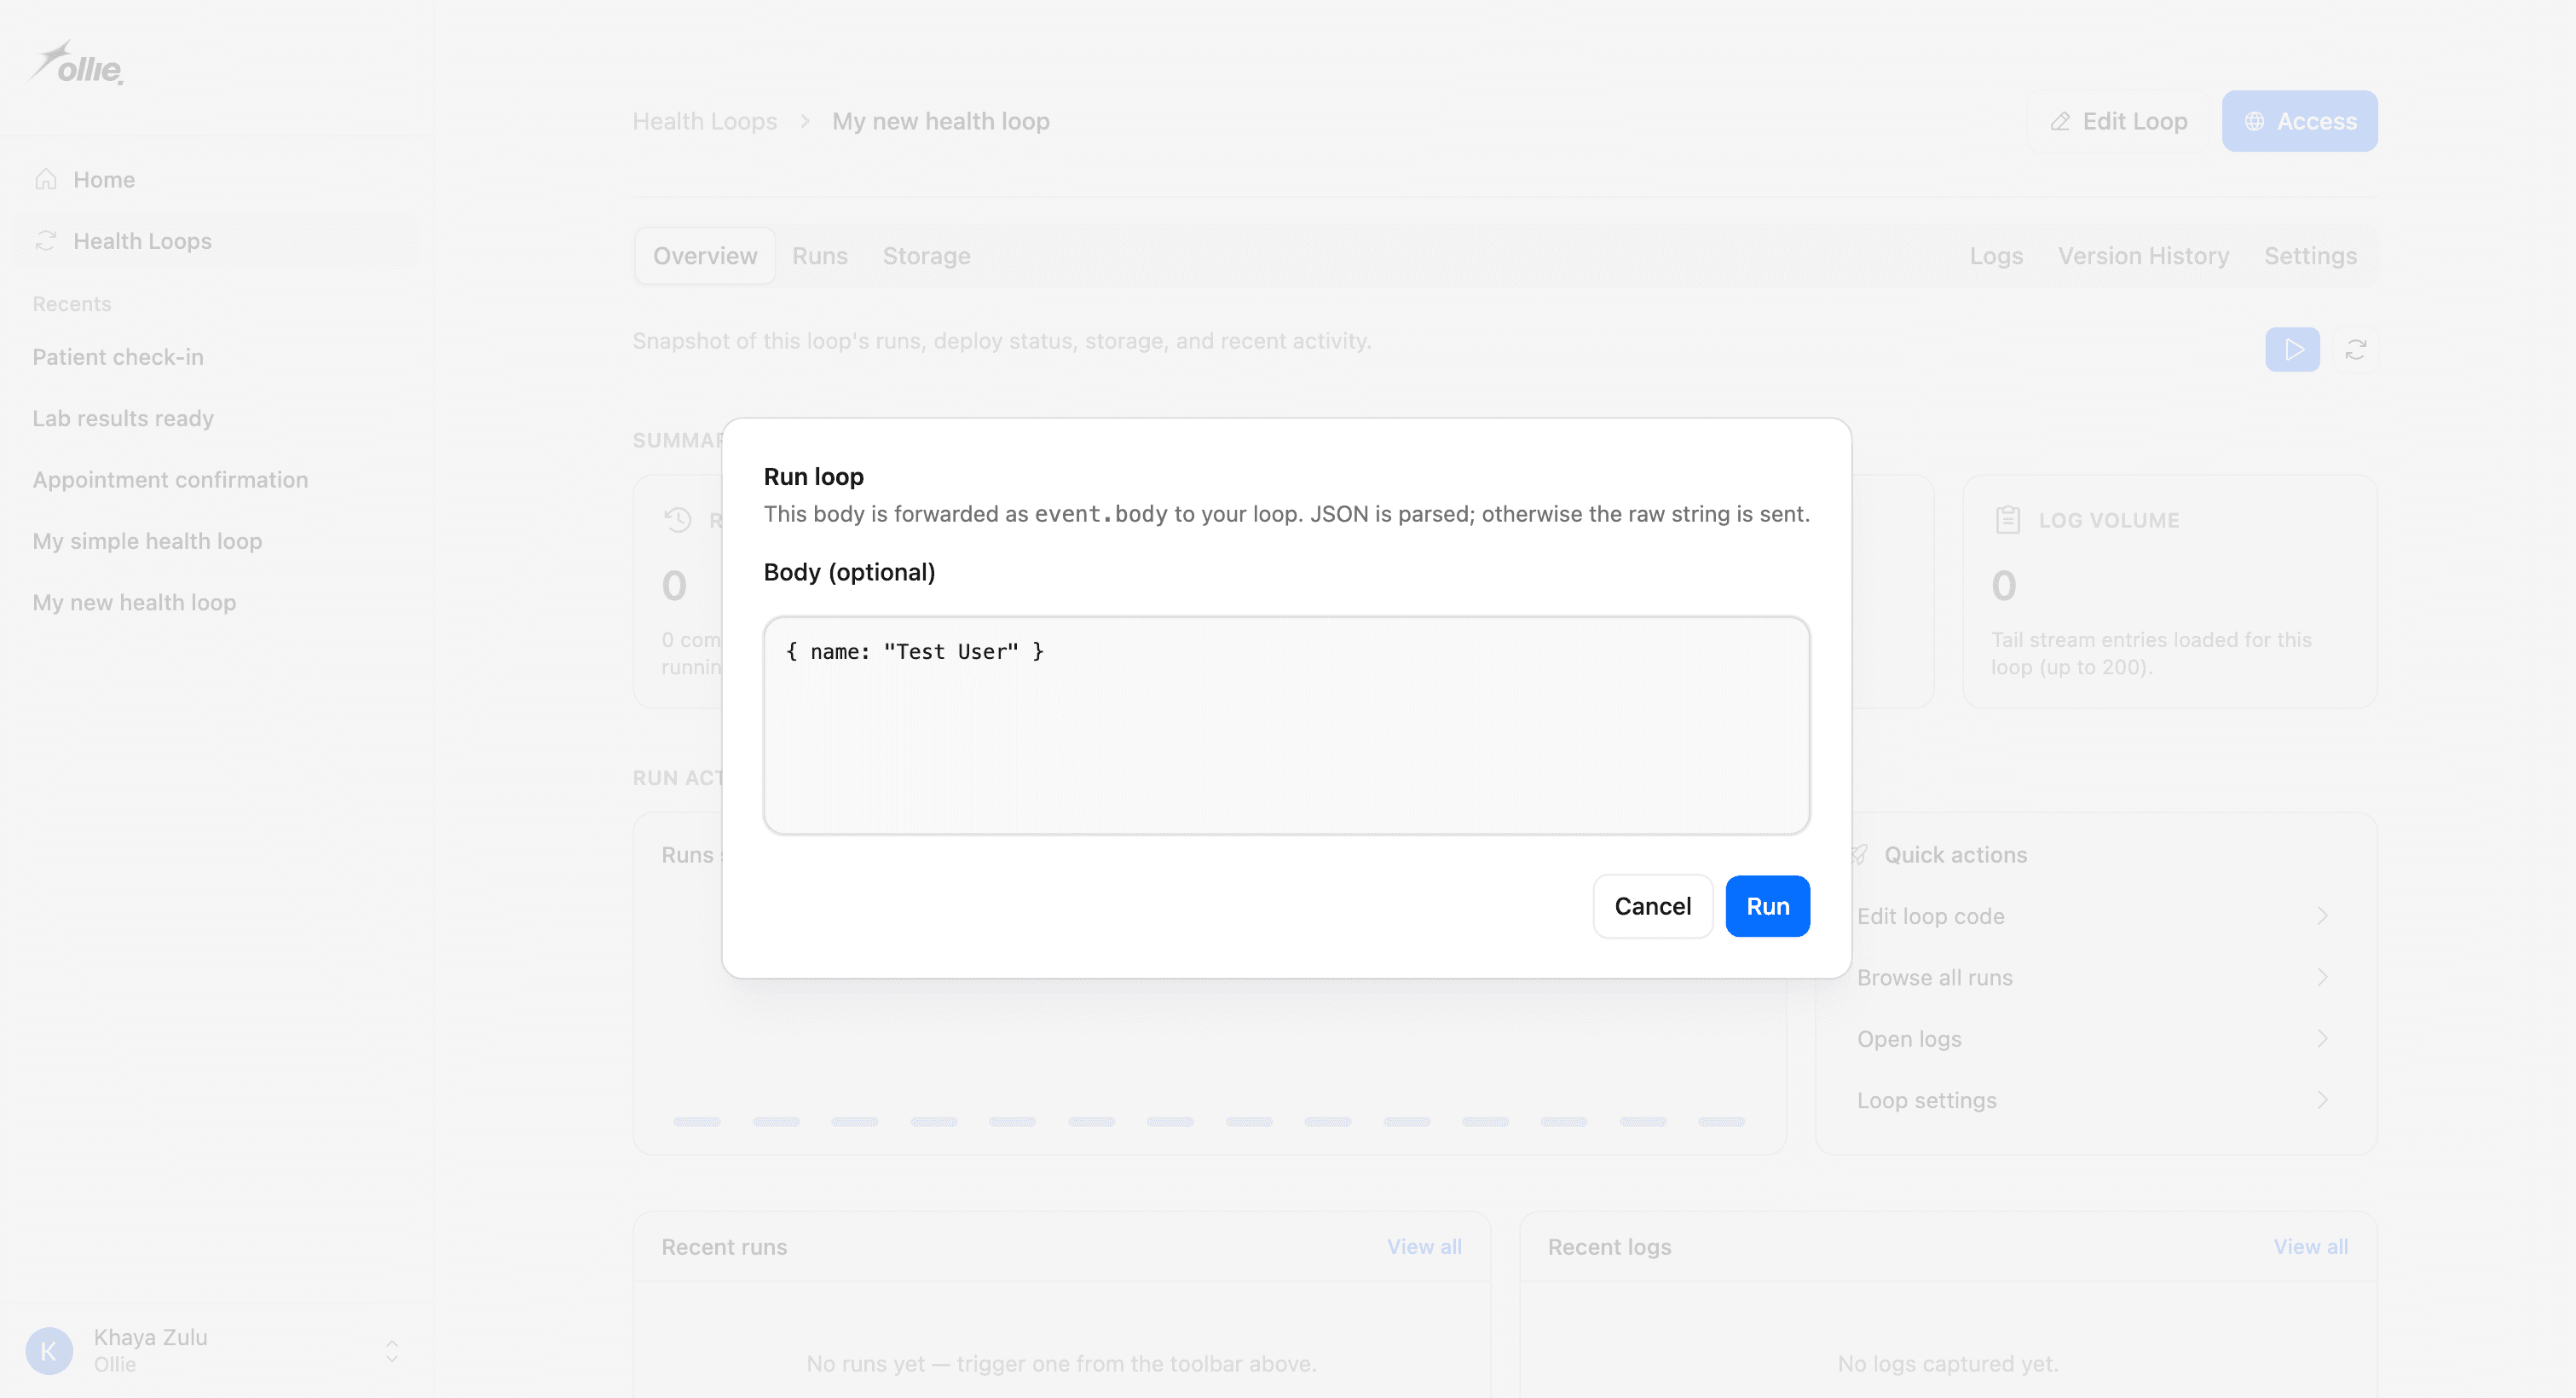
3. Trigger a run
You have two paths.
From the UI: click Run on the overview page. A dialog lets you paste a JSON body for event.body. Submit it; the run starts immediately and you’ll see it appear under Runs.
From the API: mint a token under Settings → API tokens, then POST to your loop’s trigger URL. The exact URL is on the access dialog — it looks like this:
curl -X POST https://api.ollie.health/loop/$ORG_ID/$LOOP_ID \
  -H "Authorization: Bearer $LOOPS_API_TOKEN" \
  -H "Content-Type: application/json" \
  -d '{ "name": "Khaya" }'
The response gives you a runId you can use to find the run later.
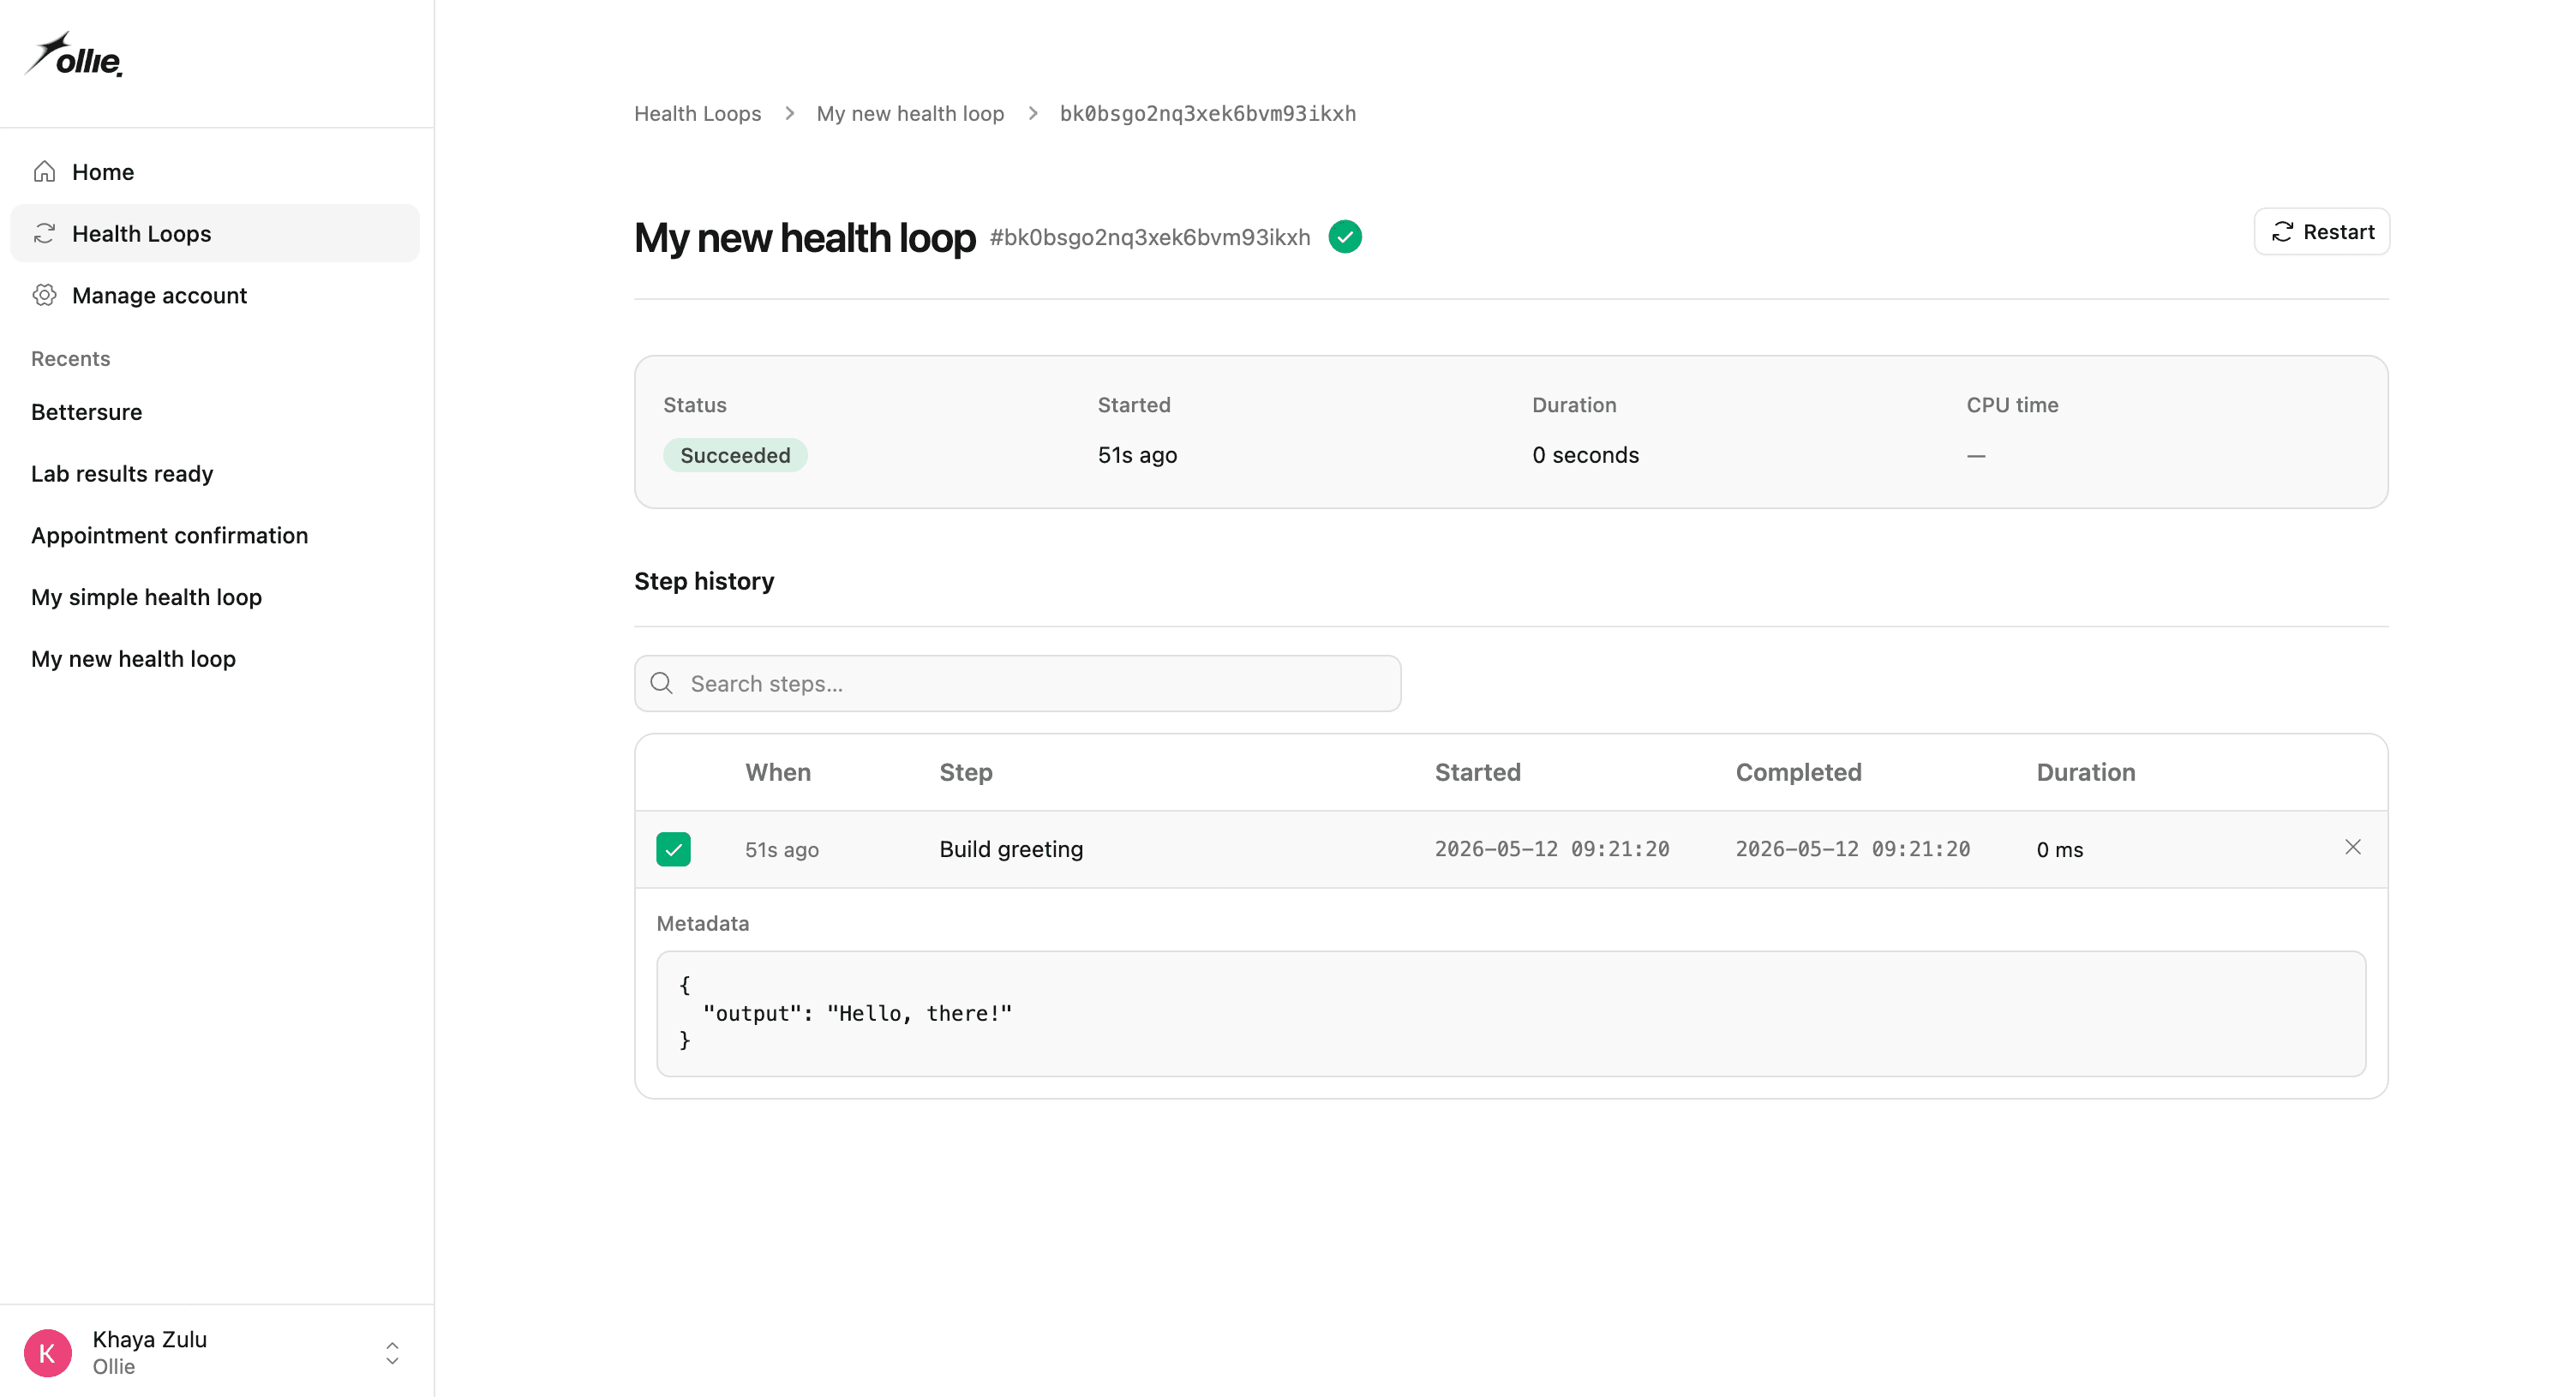
4. Inspect the run
Open the run from the Runs tab. You’ll see:
- Steps — every
step.dothat ran, in order, with its status and return value. - Logs — every
console.*your loop wrote, plus any error trace. - Input / output — what you passed in, and what
run()returned.
That’s the full feedback loop: write code, deploy, trigger, read the run. Iterate on the code, deploy again — the next run uses the new version automatically.
Where to go next
- Use tools to reach outside the loop.
- Try an agent loop or voice loop for conversational flows.
- Set up scheduled triggers under Settings to run a loop on a cron. (Coming soon)